|
On the 15th
of May 2005 someone in our family had the bright idea of adding
a conservatory to the back of our house, my dad and I got elected
to construct the foundations and brick base, we then got a local
double glazing company (Keymer
Double Glazing) to construct and fit the glazing and roof.
Below are step
by step pictures of the entire construction:-
(please click on any picture for a bigger image)
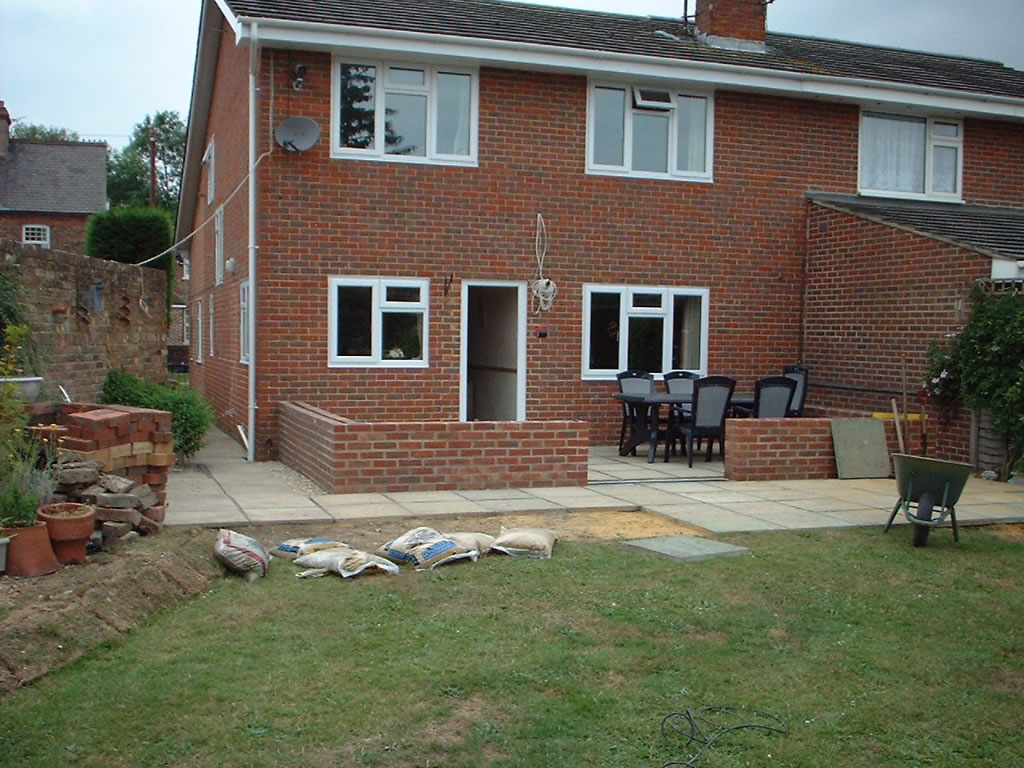
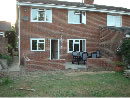
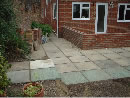
This
is the back of our house, before any work started on the conservatory. |
|
|
|
|
|
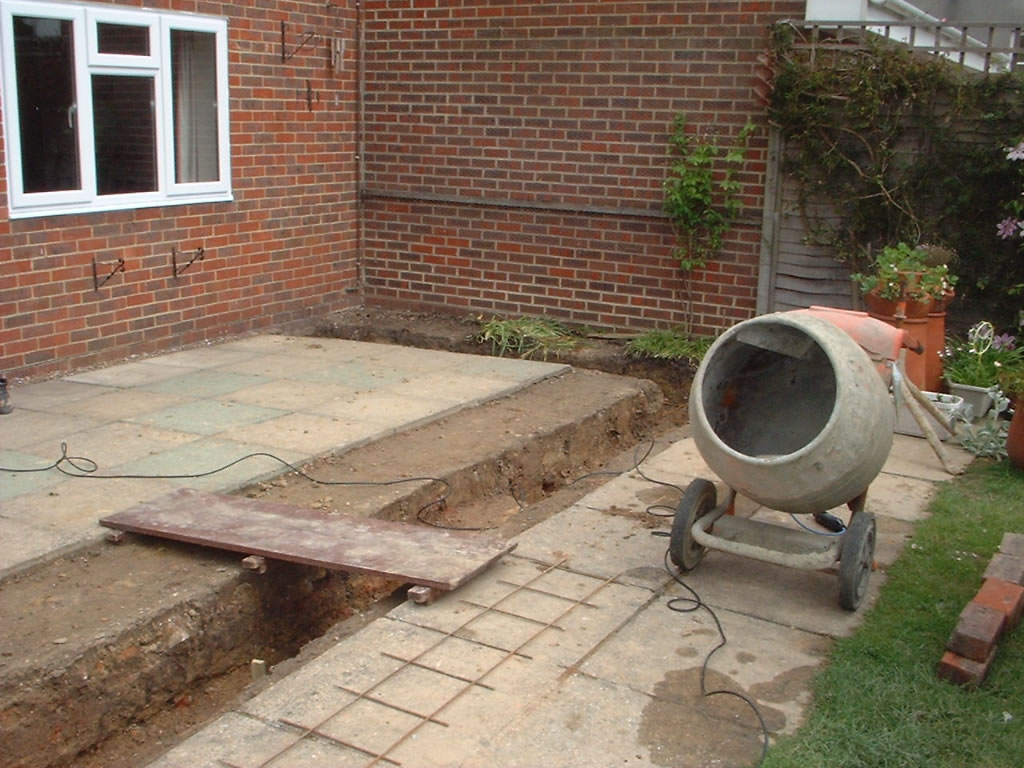
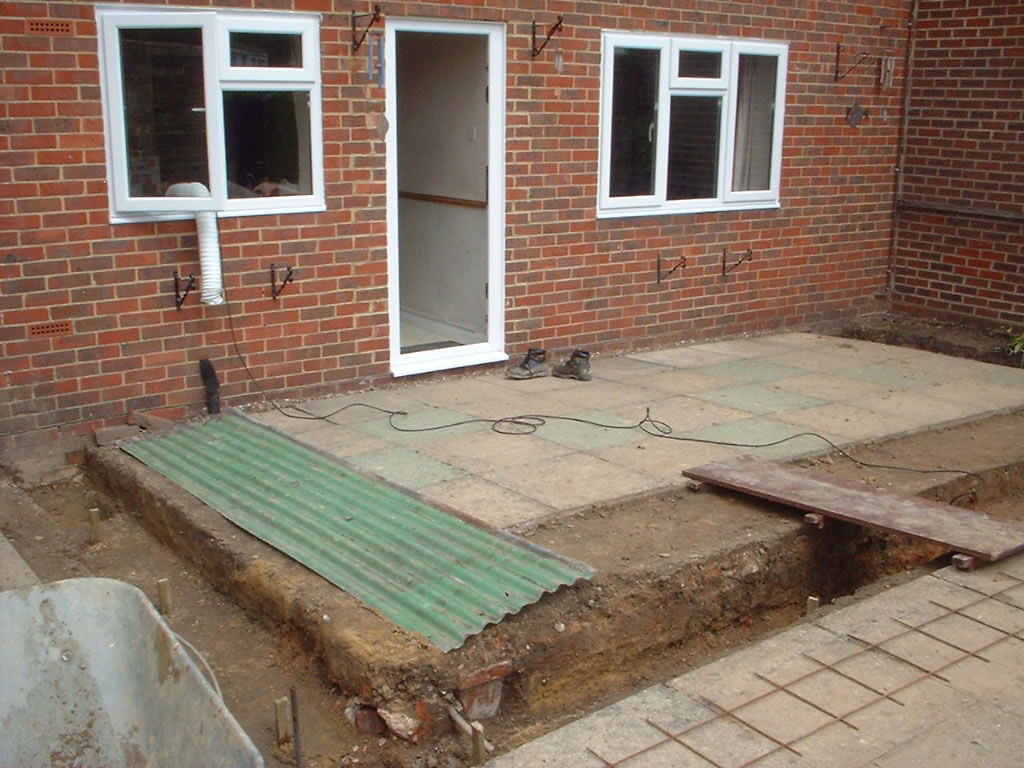
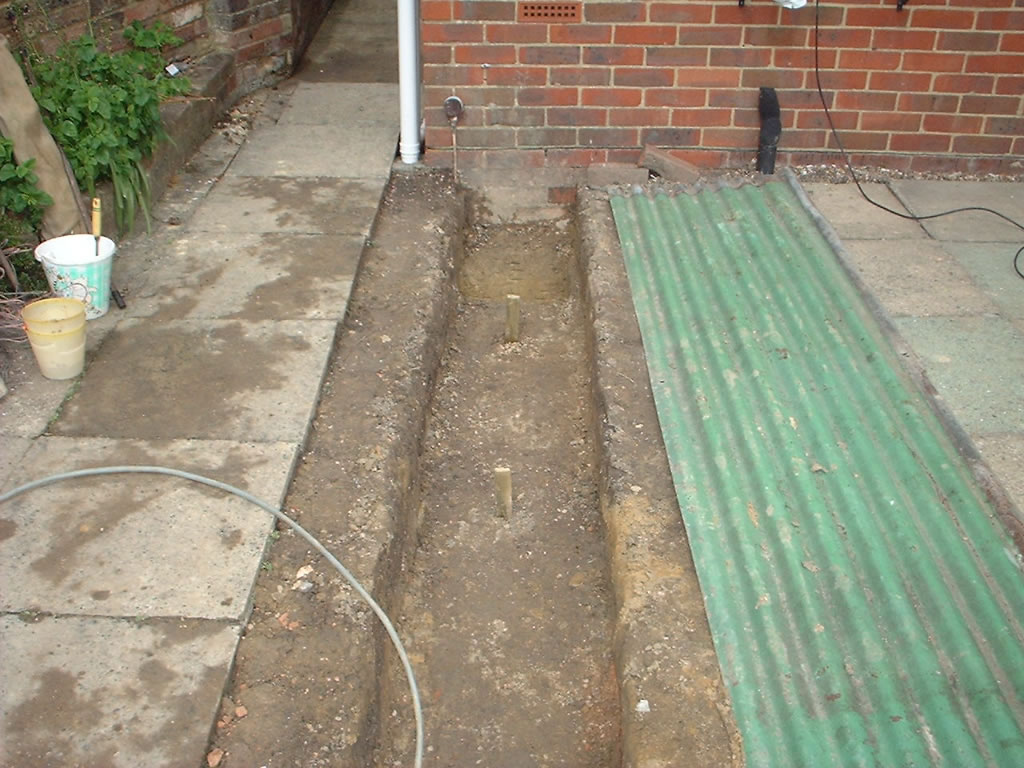
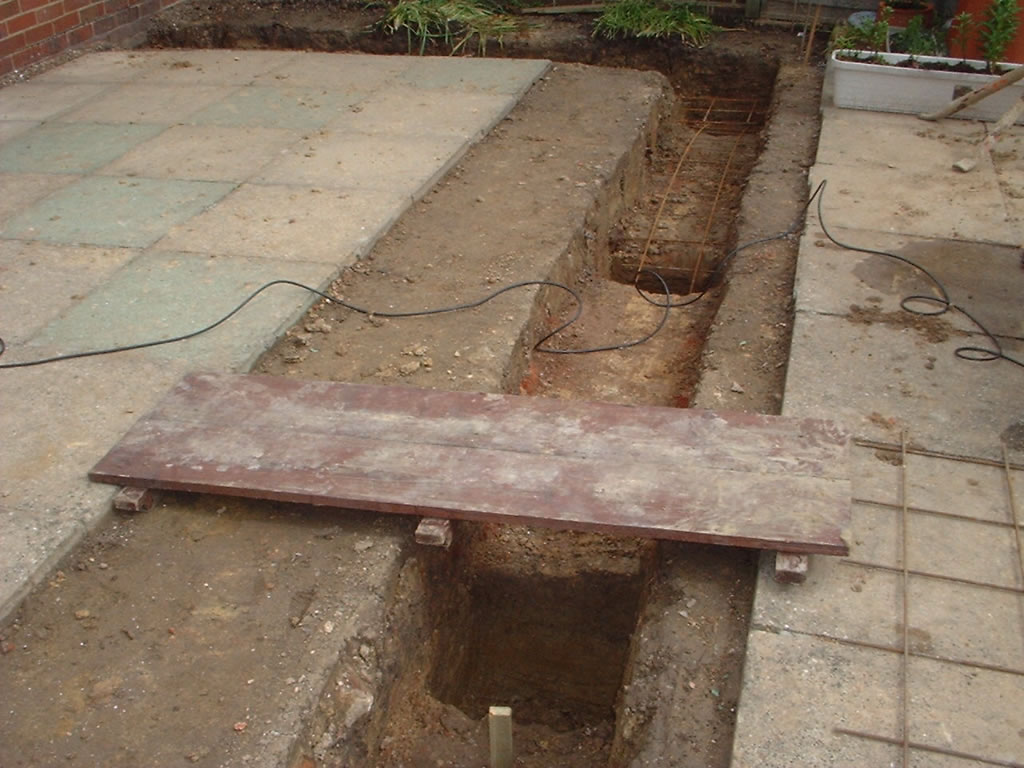
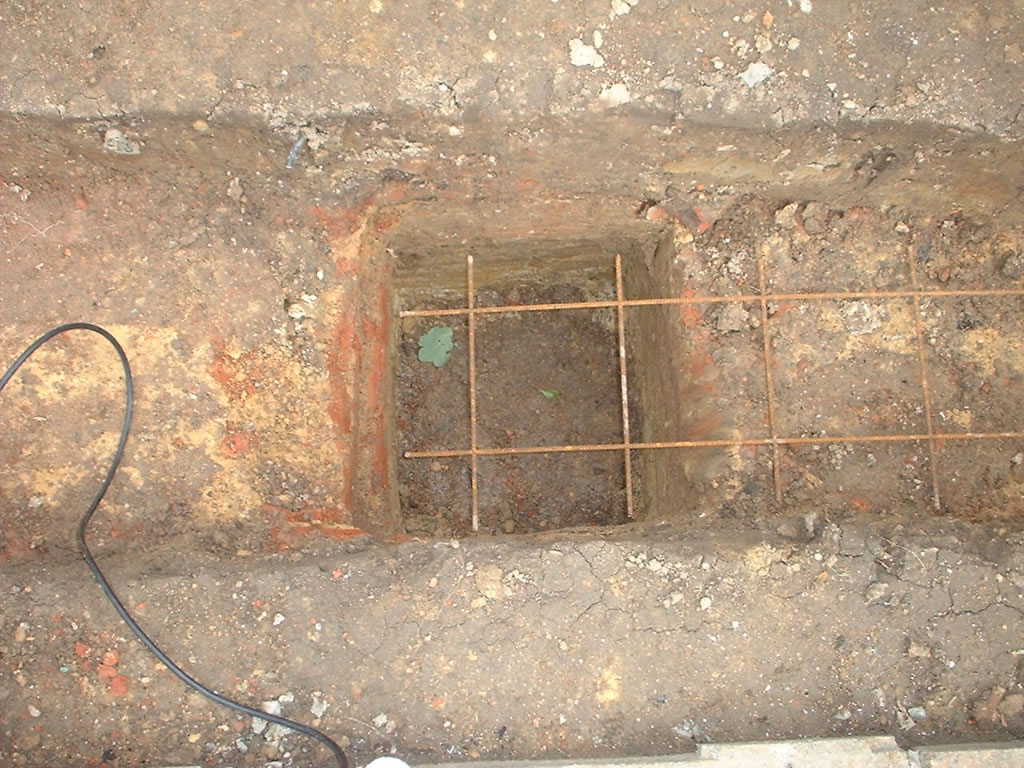
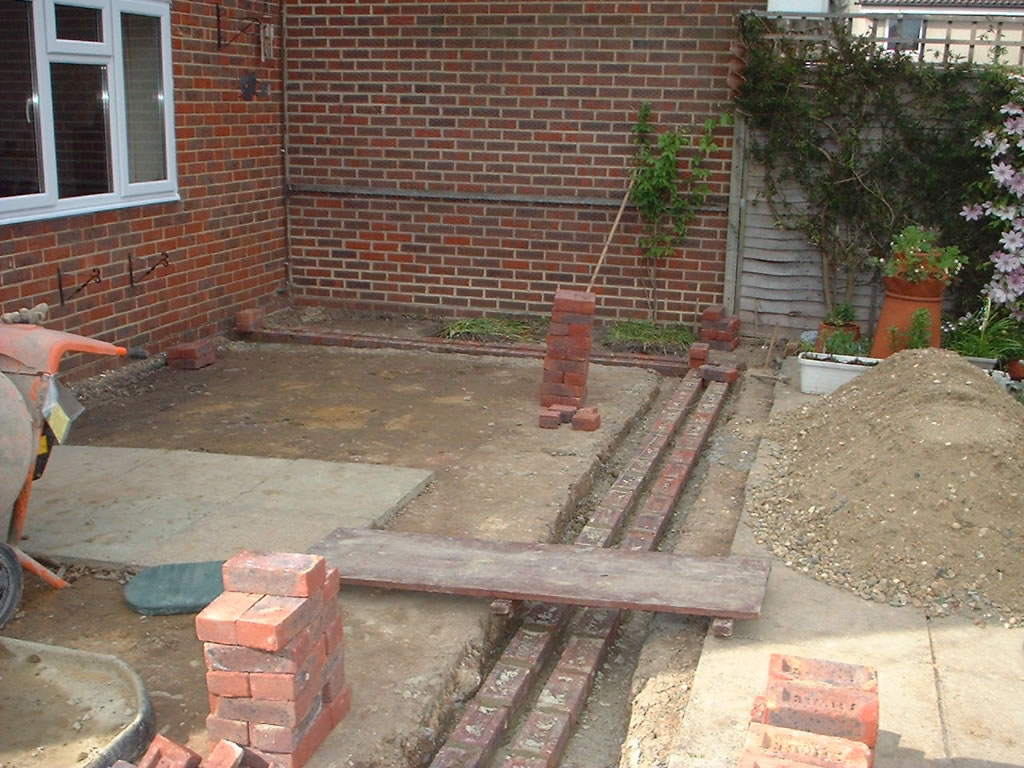
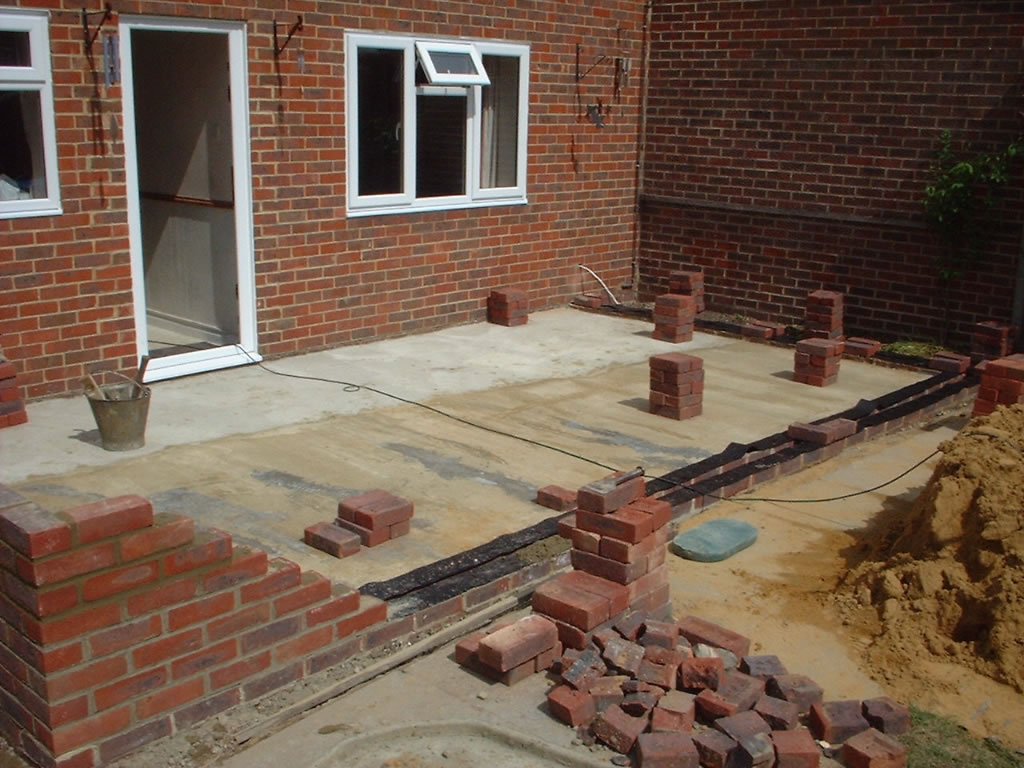
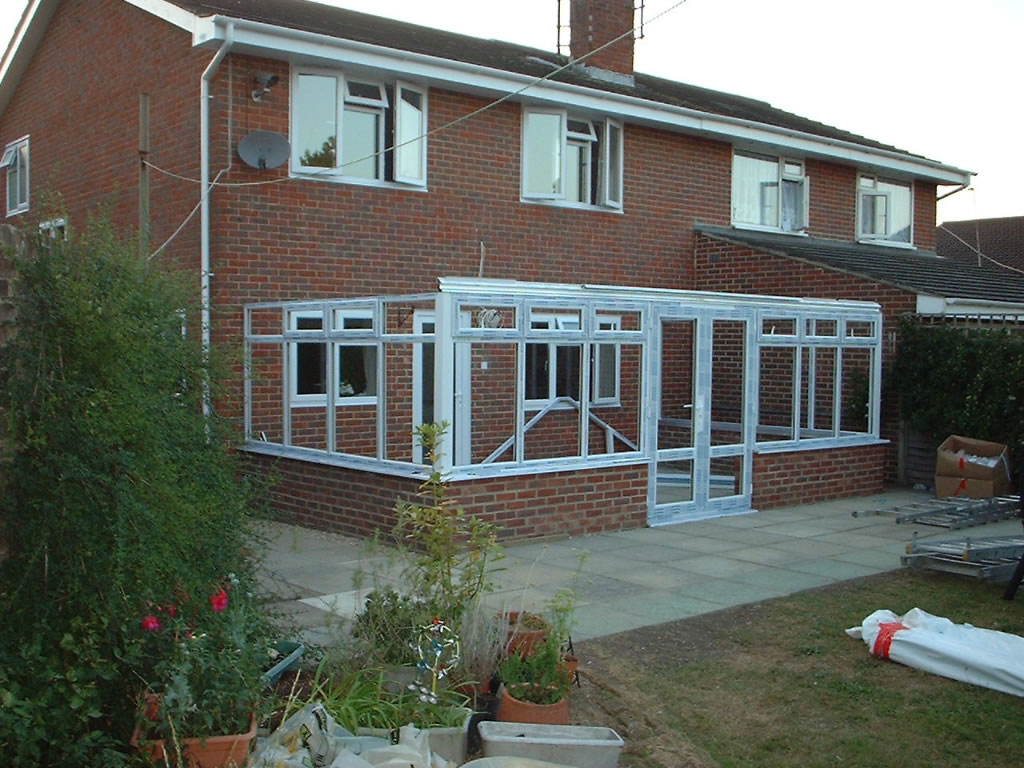
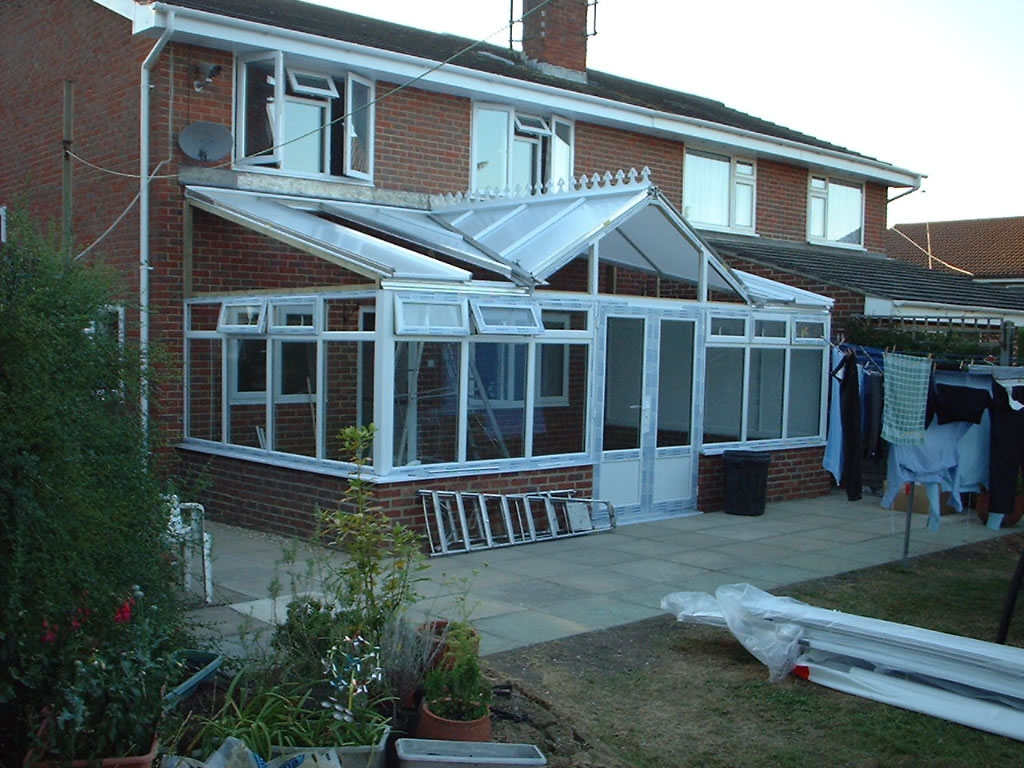
The
first stage was to lift the paving slabs and dig the foundations.
(The foundations were constructed using the reinforced beam
method with a 30inch deep post at the corners.) |
|
|
|
|
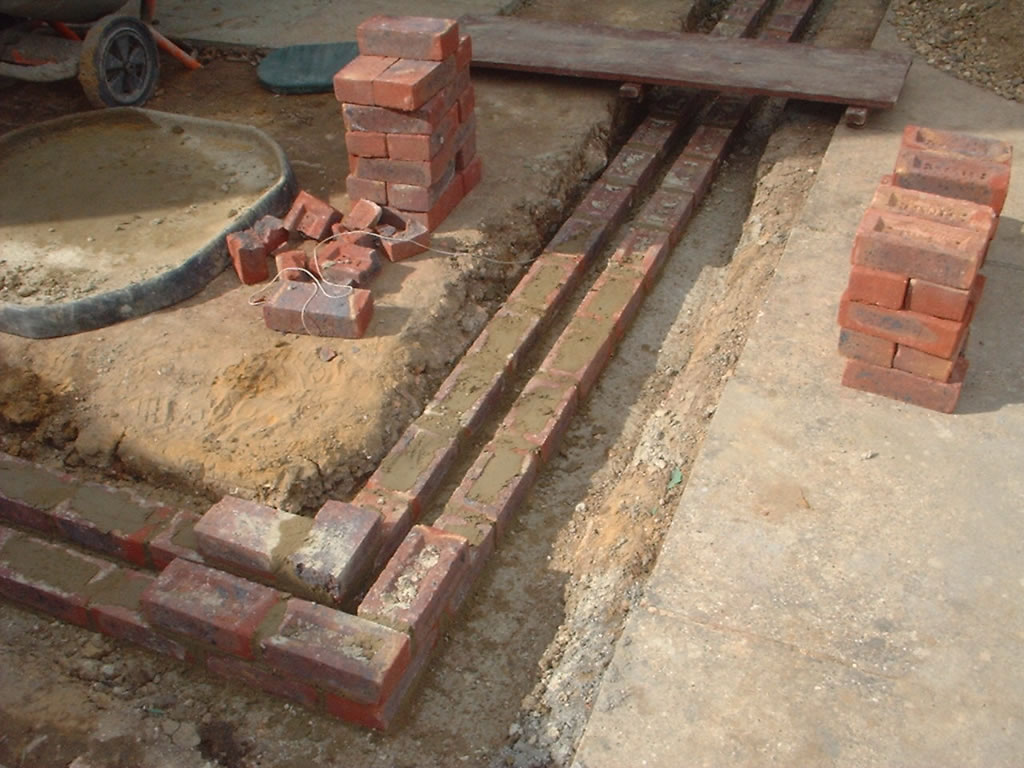
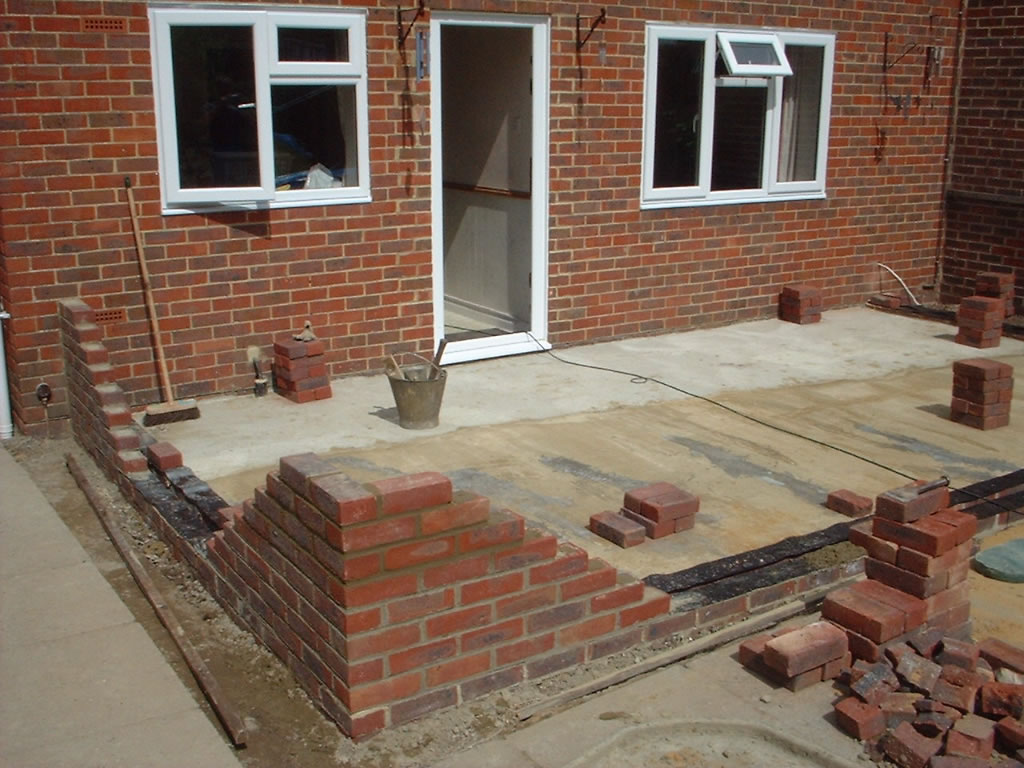
25-26th
May
Over
the next 2 days we completed the 2 skins of brick up to damp
proof course. (2 courses of brick) |
|
|
|
|
|
|
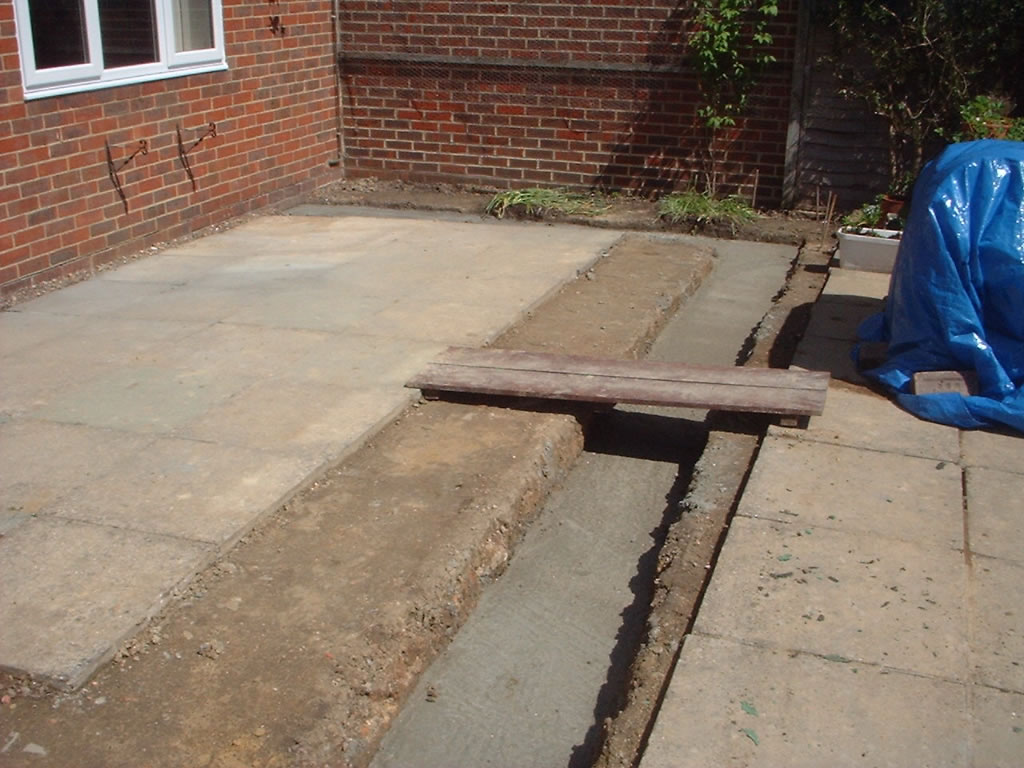
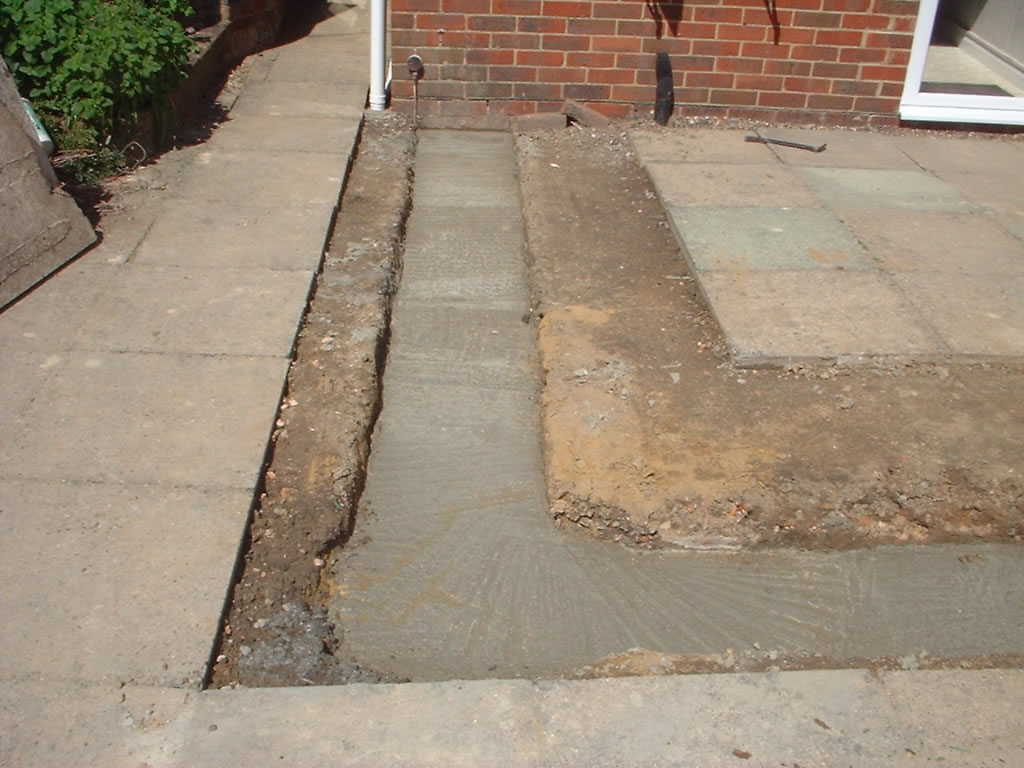
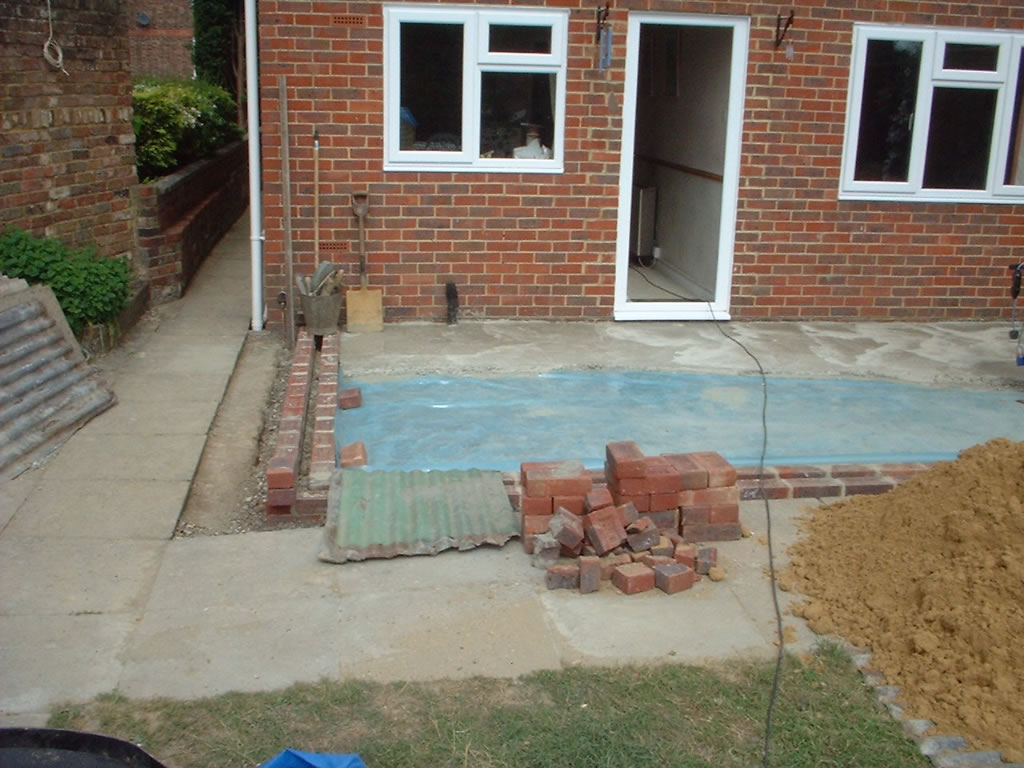
27-28th
May
In
the next 2 days we screeded the floor, this included a polythene
damp proof membrane. |
|
|
|
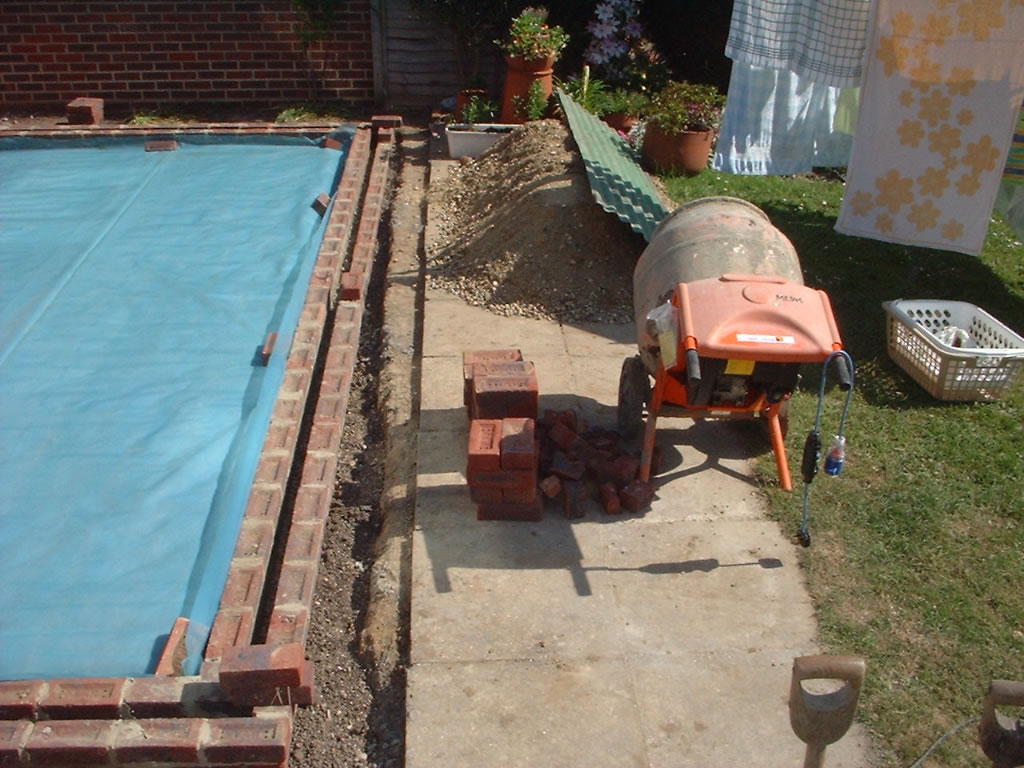
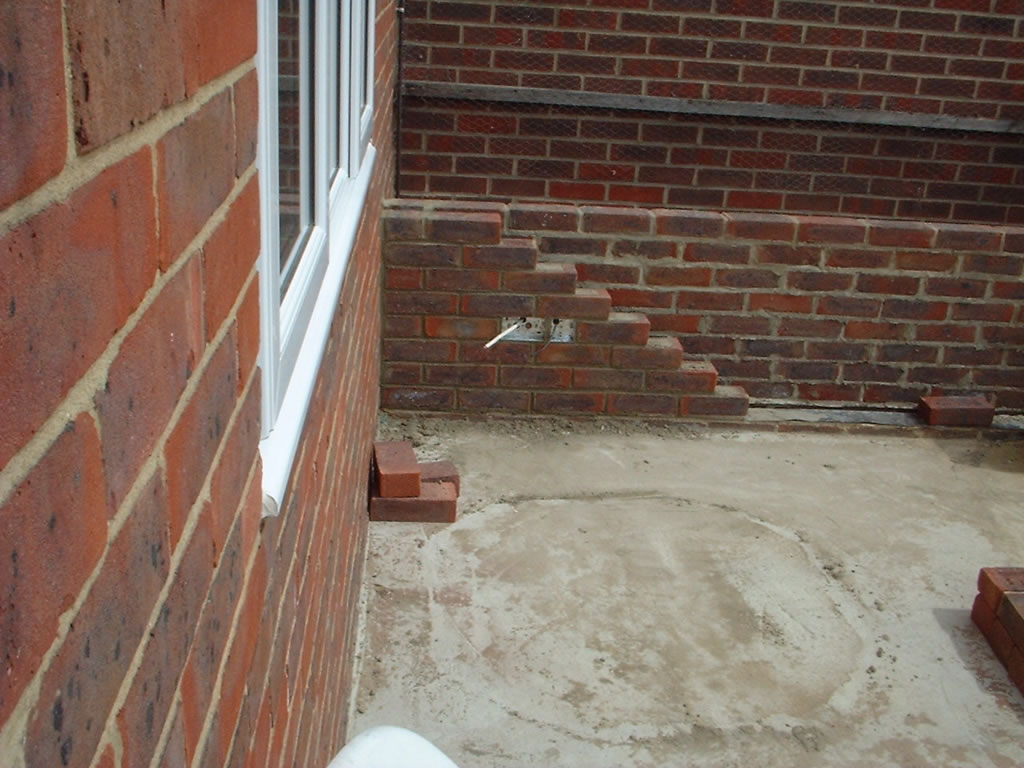
29
May - 5th June
Dad
built the outer skin of bricks. (2ft high, 8 courses) |
|
|
|
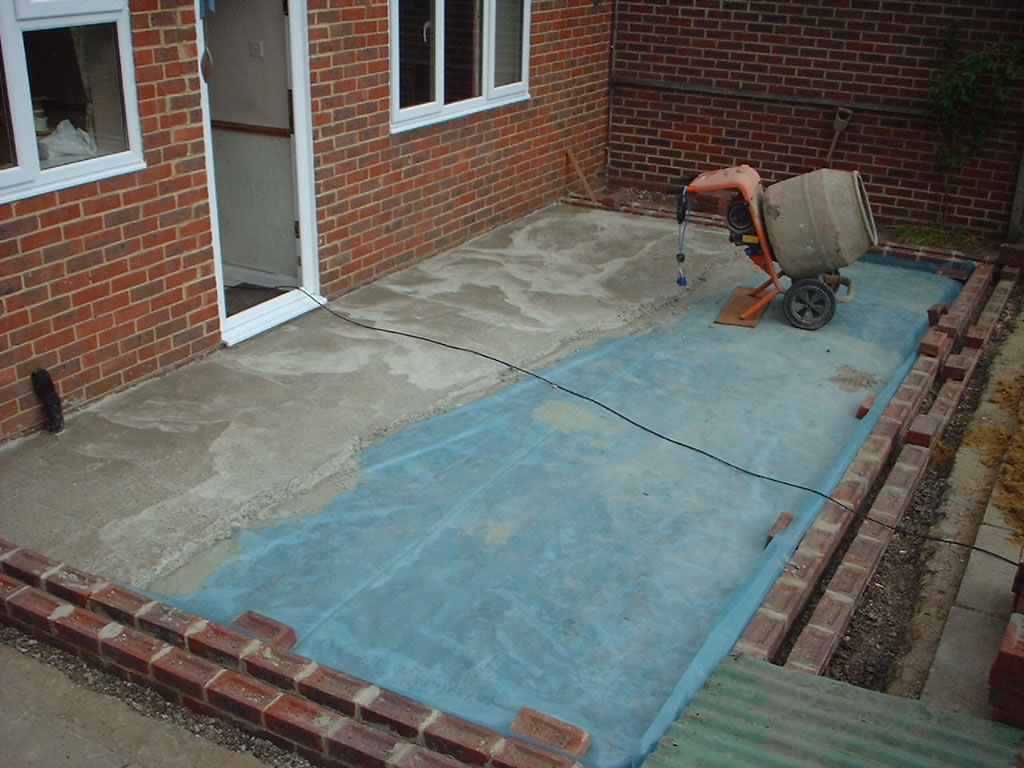
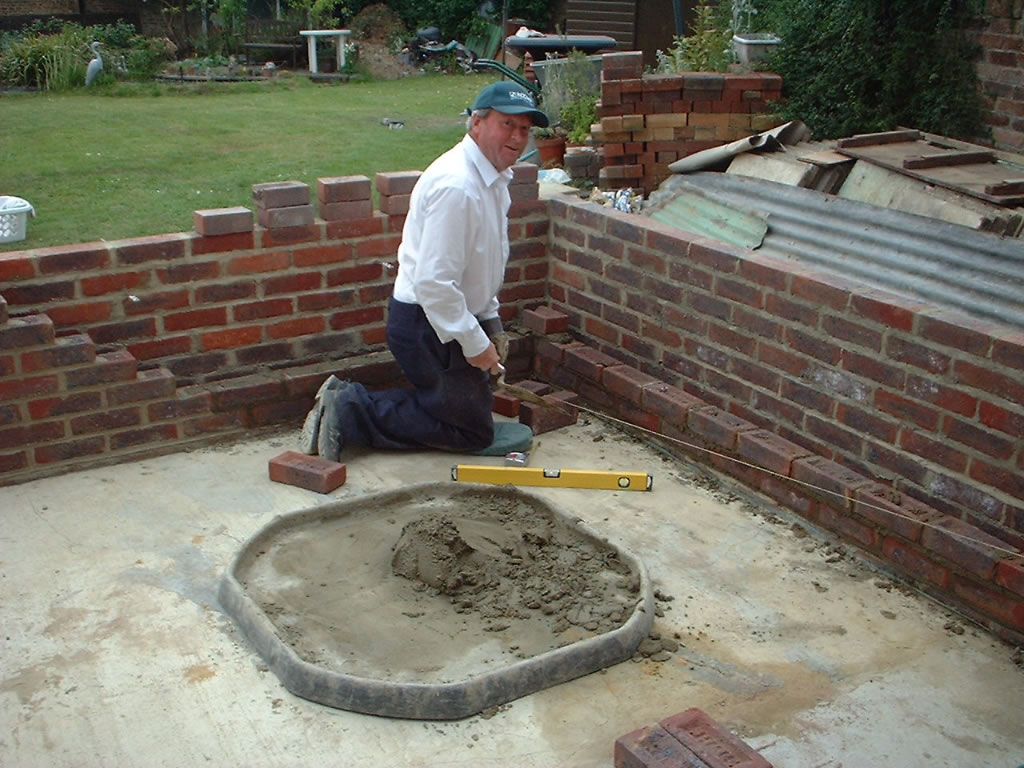
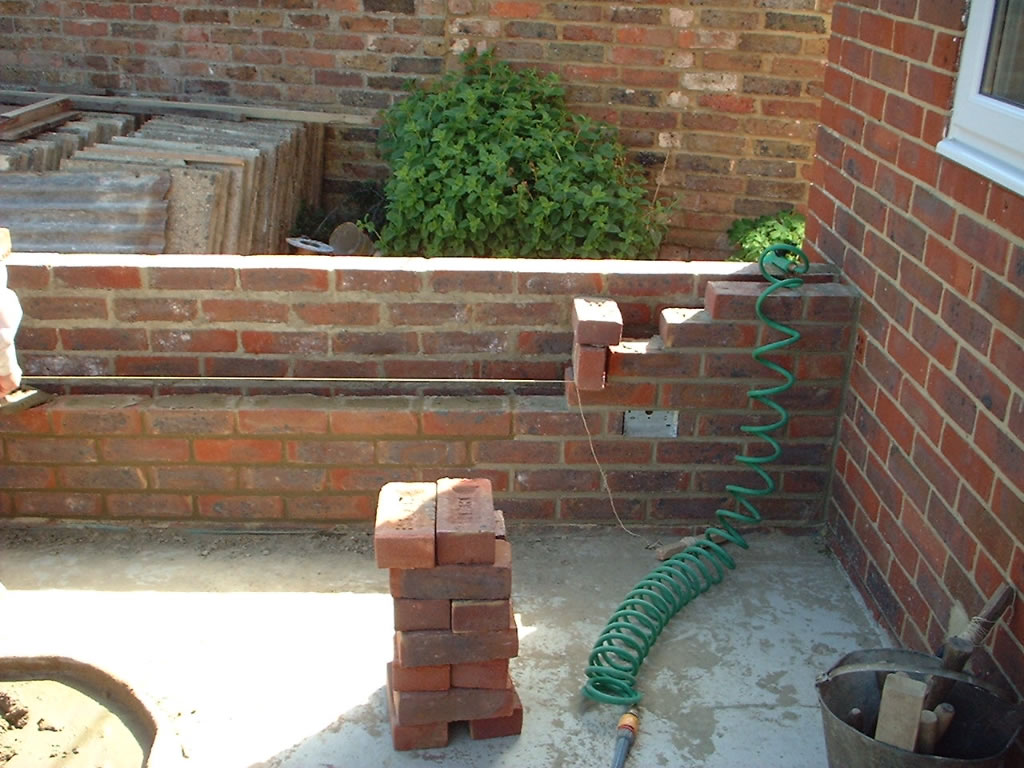
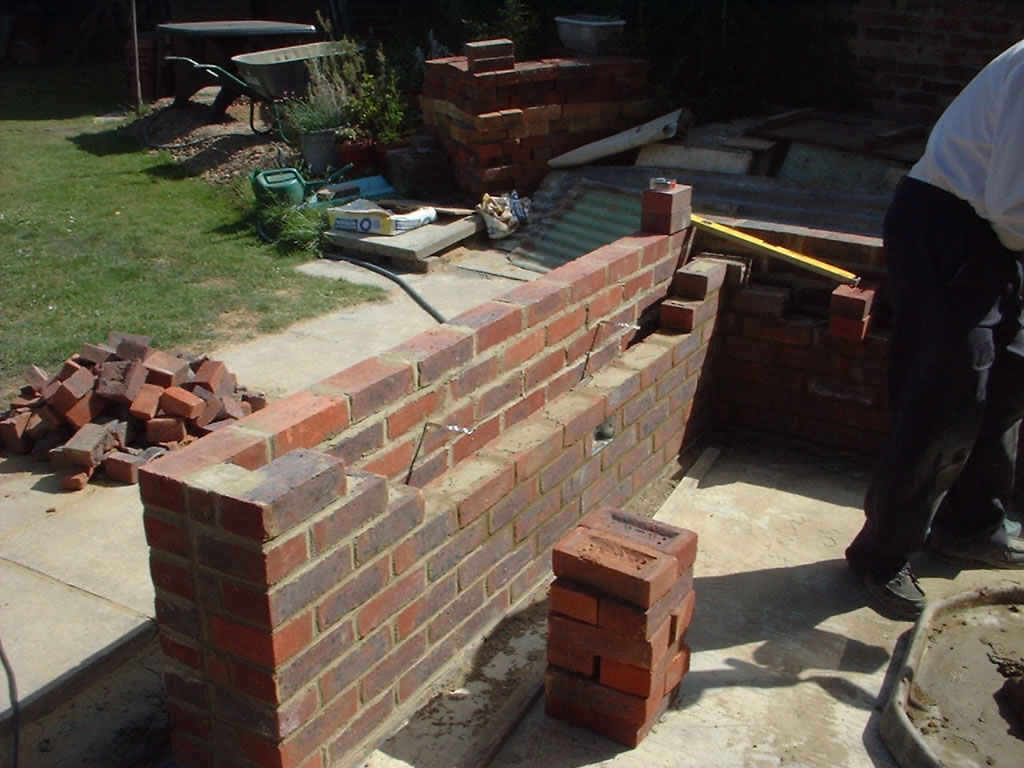
12-17
June
Dad
built the inside brick skin. |
|
|
|
|
|
|
|
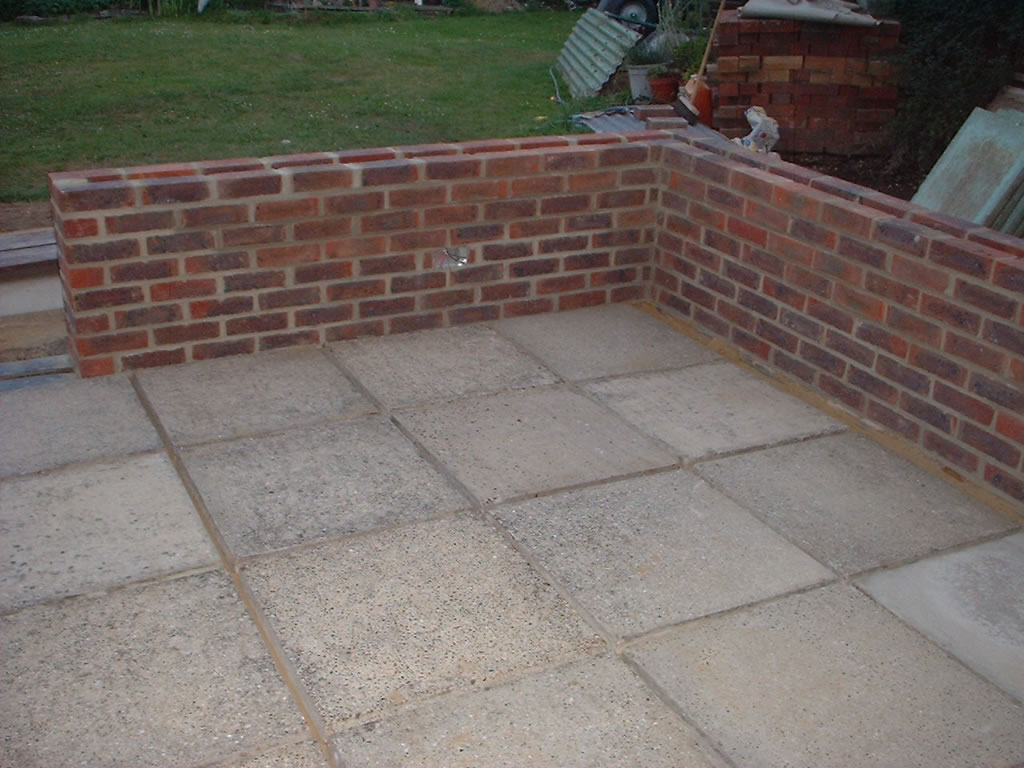
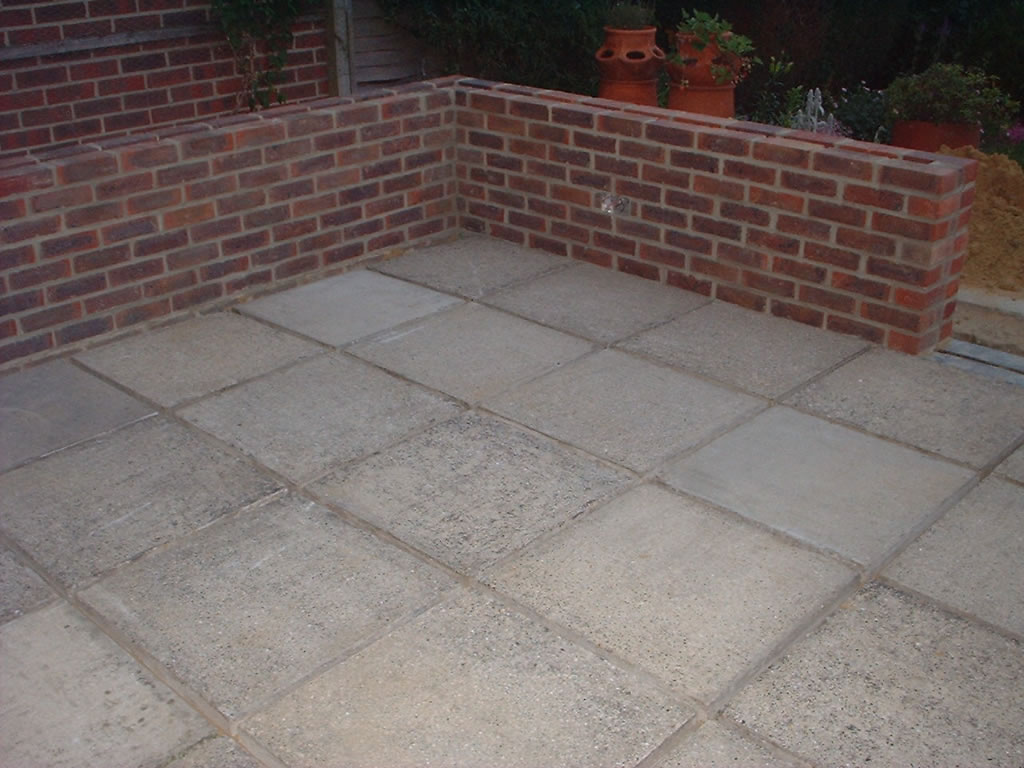
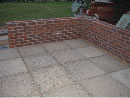
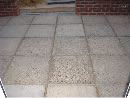
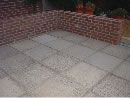
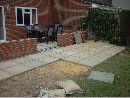
19-20
June
We
laid and grouted 45 paving slabs on the conservatory floor. |
 |
 |
 |
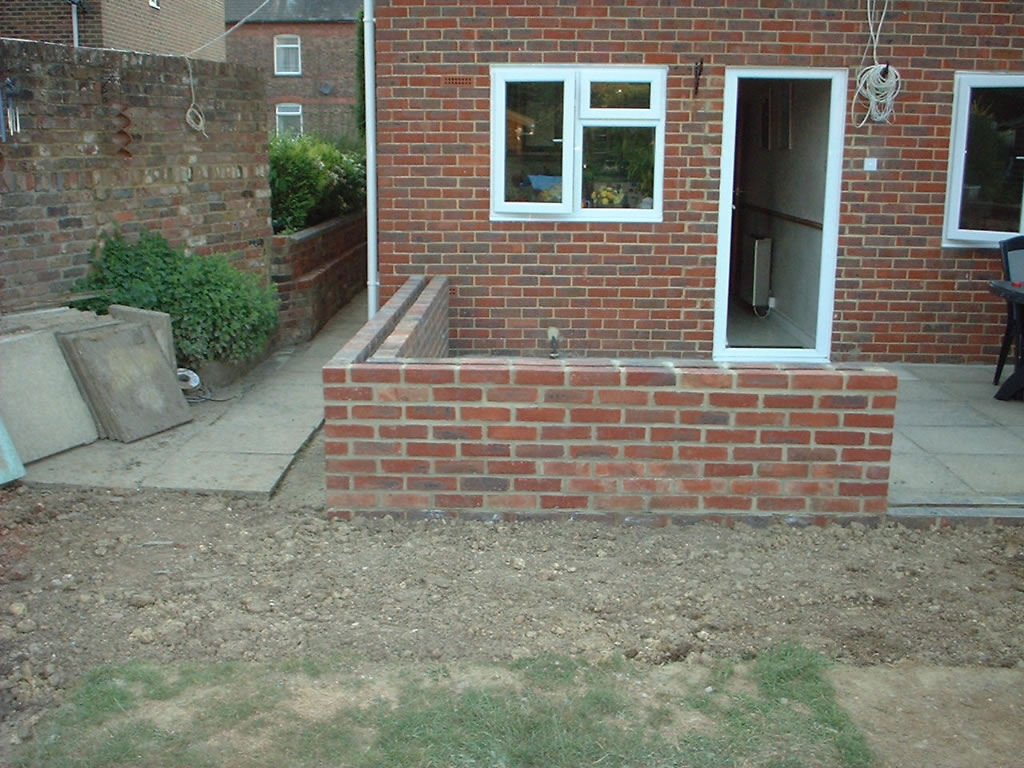
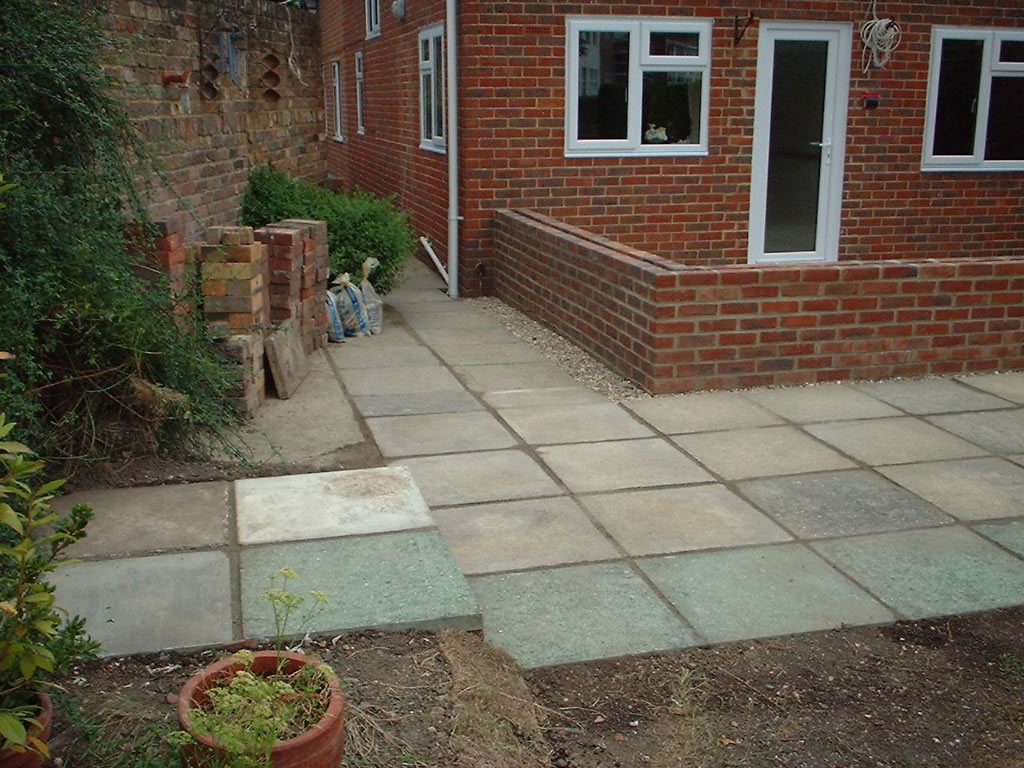
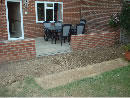
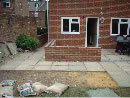
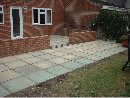
25th
June
I
took up the remaining paving slabs outside the conservatory
and levelled the land. |
 |
 |
 |
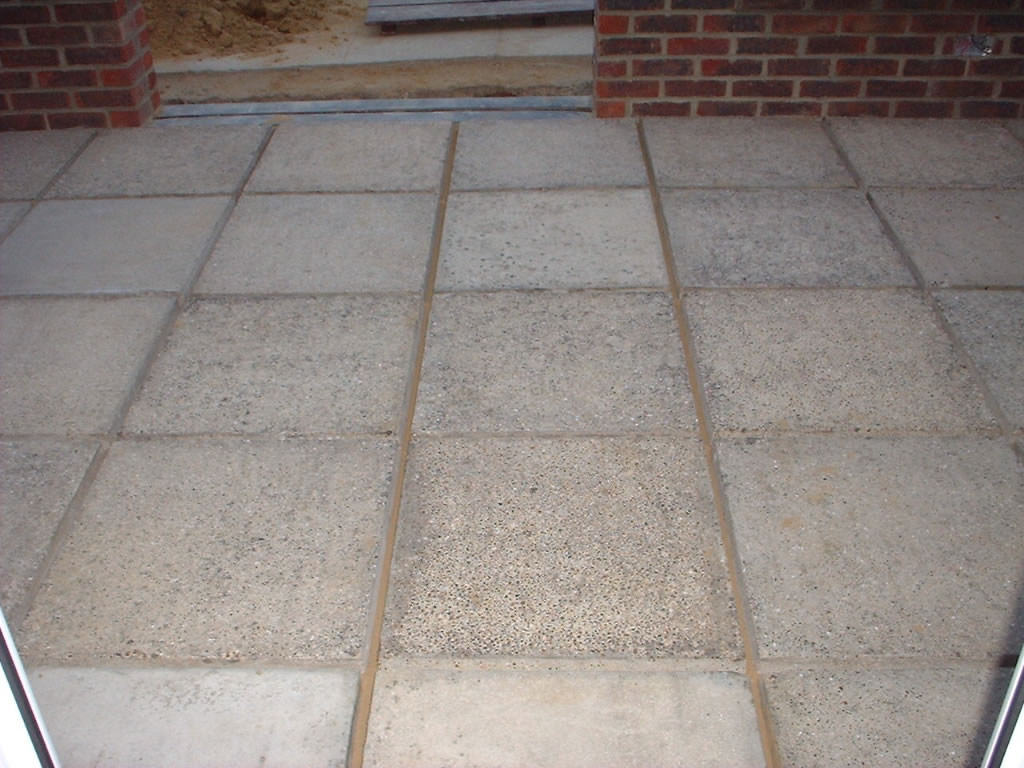
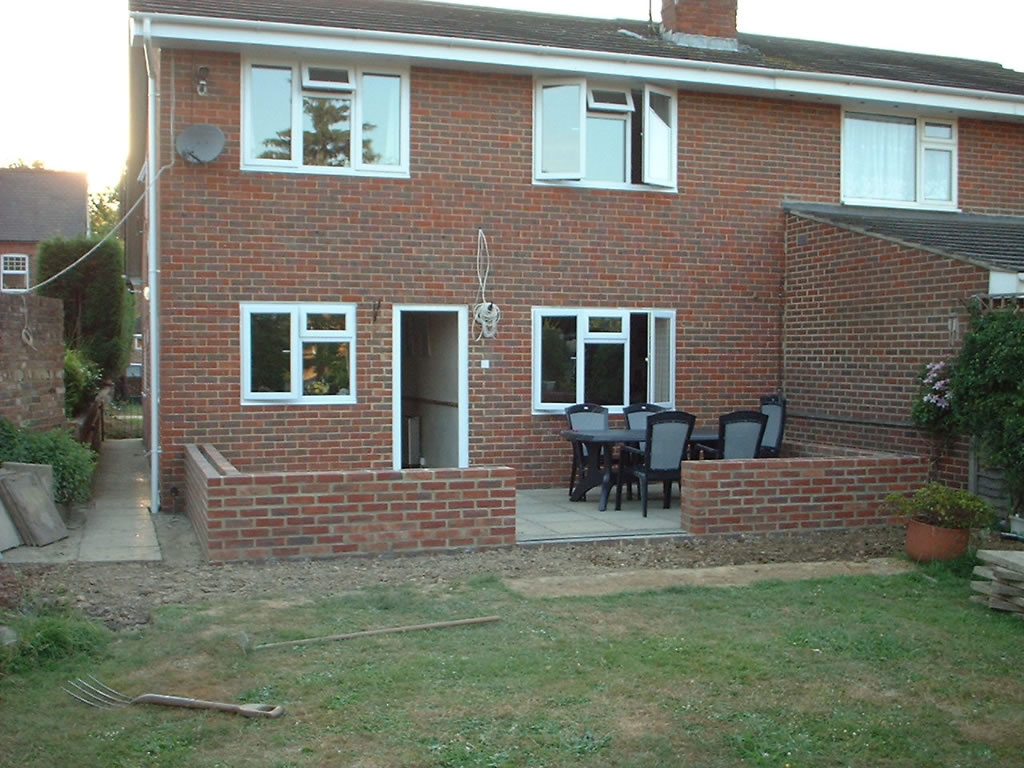
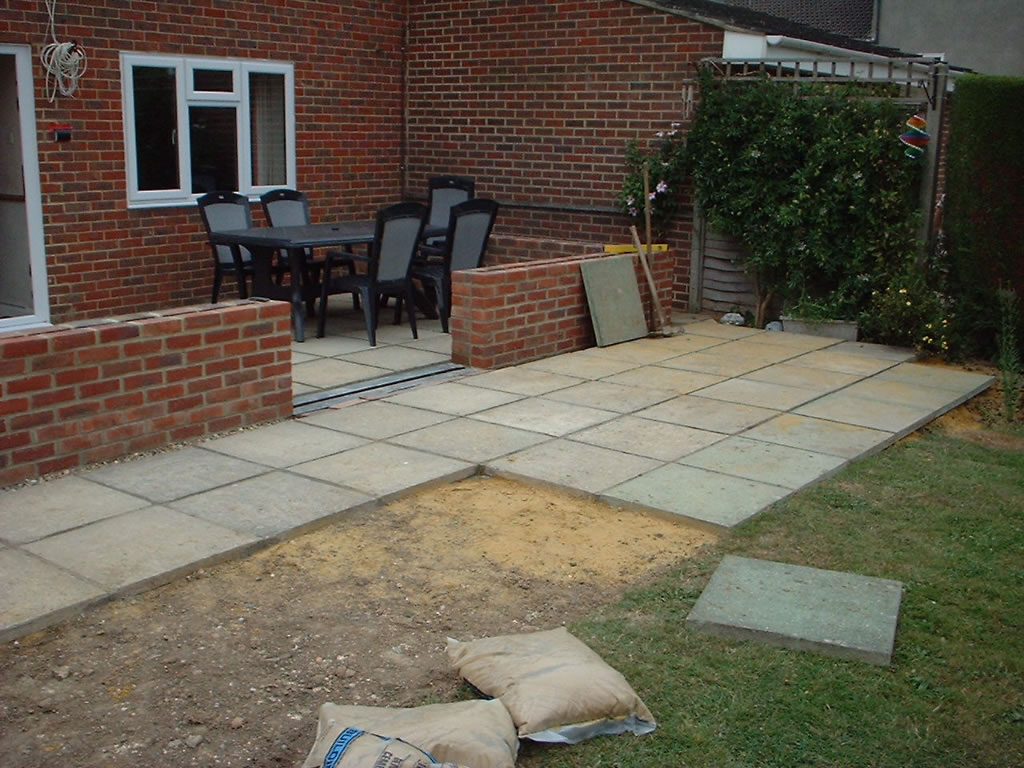
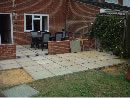
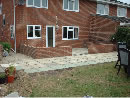
9th
July
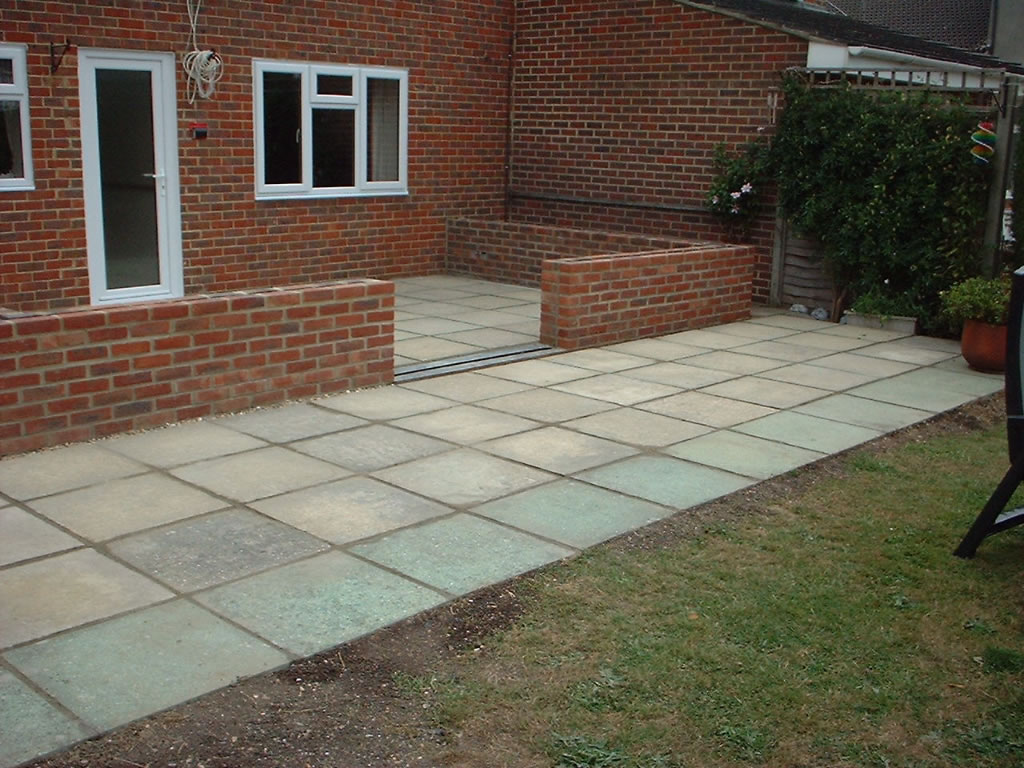
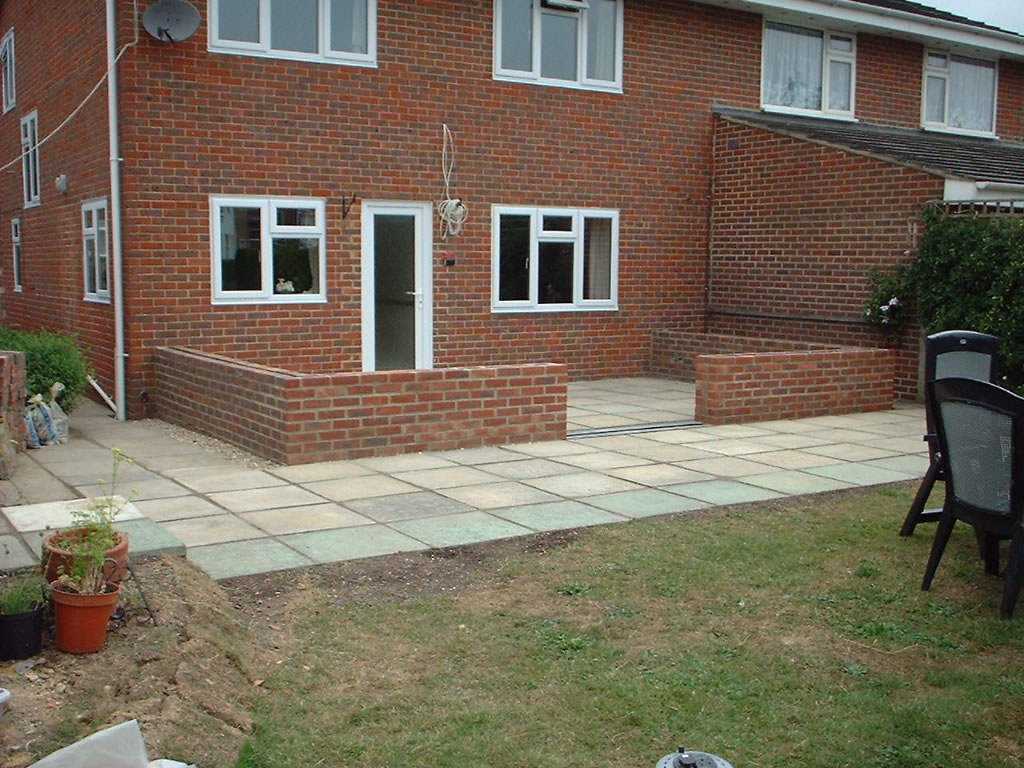
We
completed the patio outside the conservatory. |
 |
 |
 |
|
 |
 |
 |
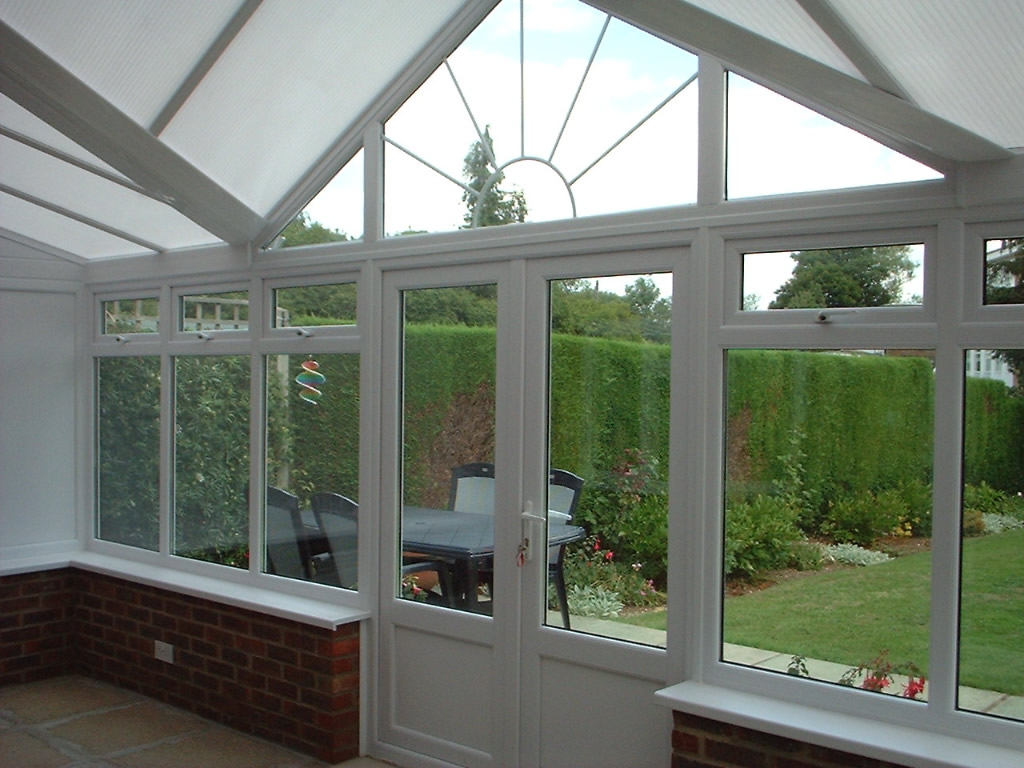
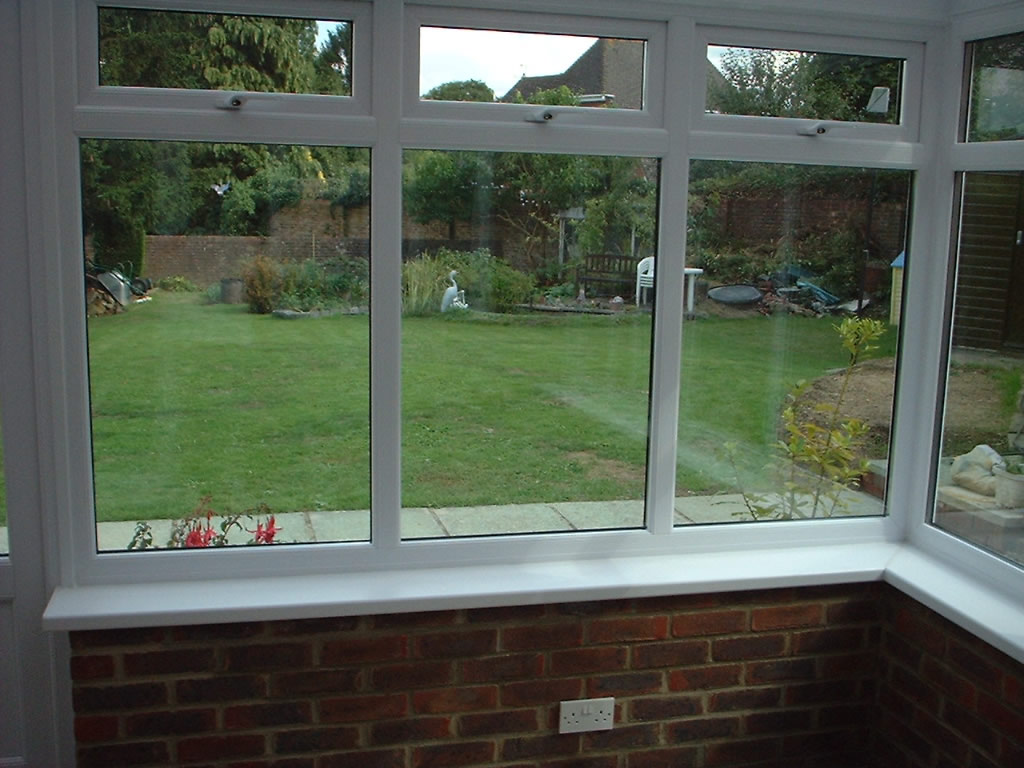
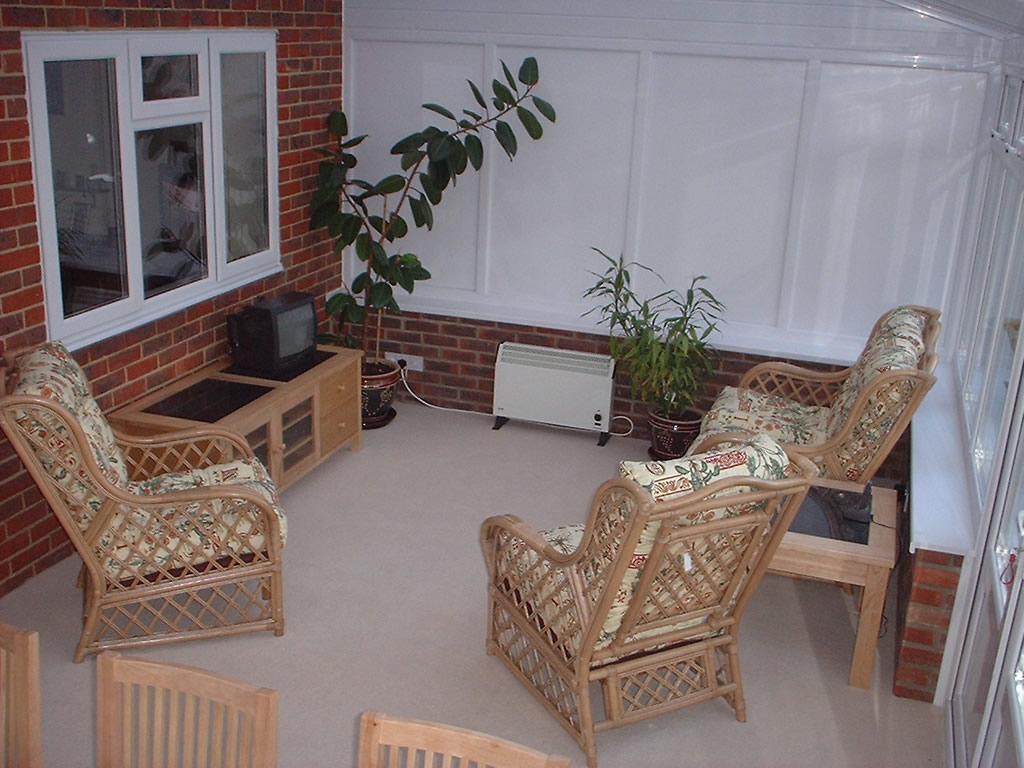
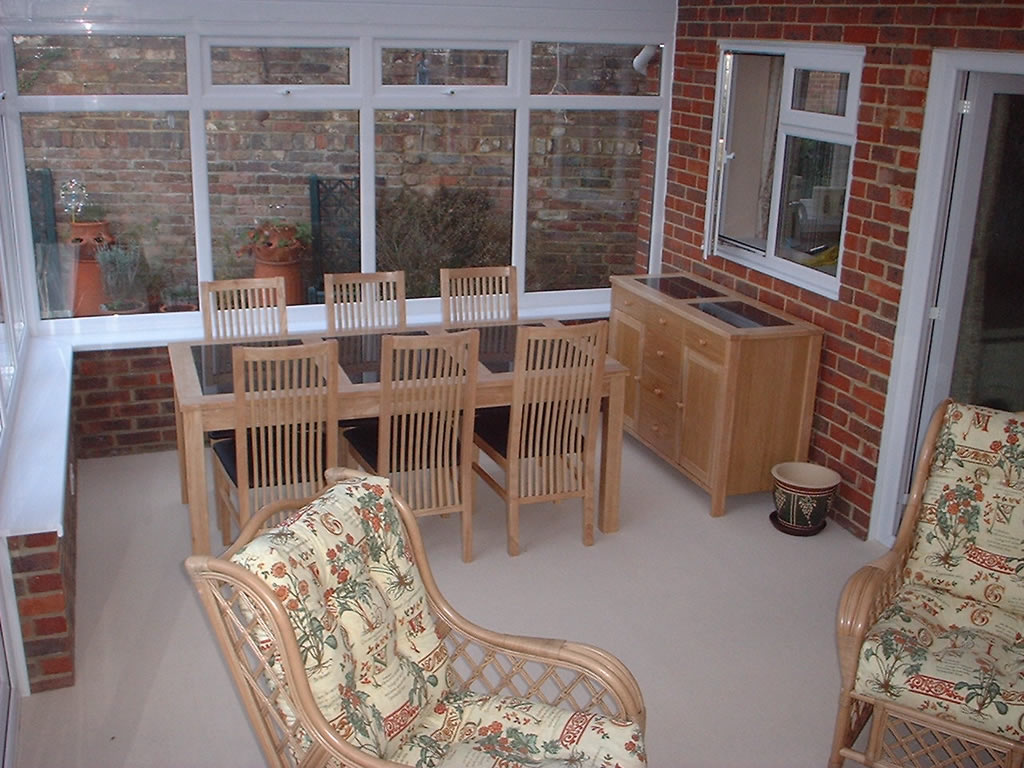
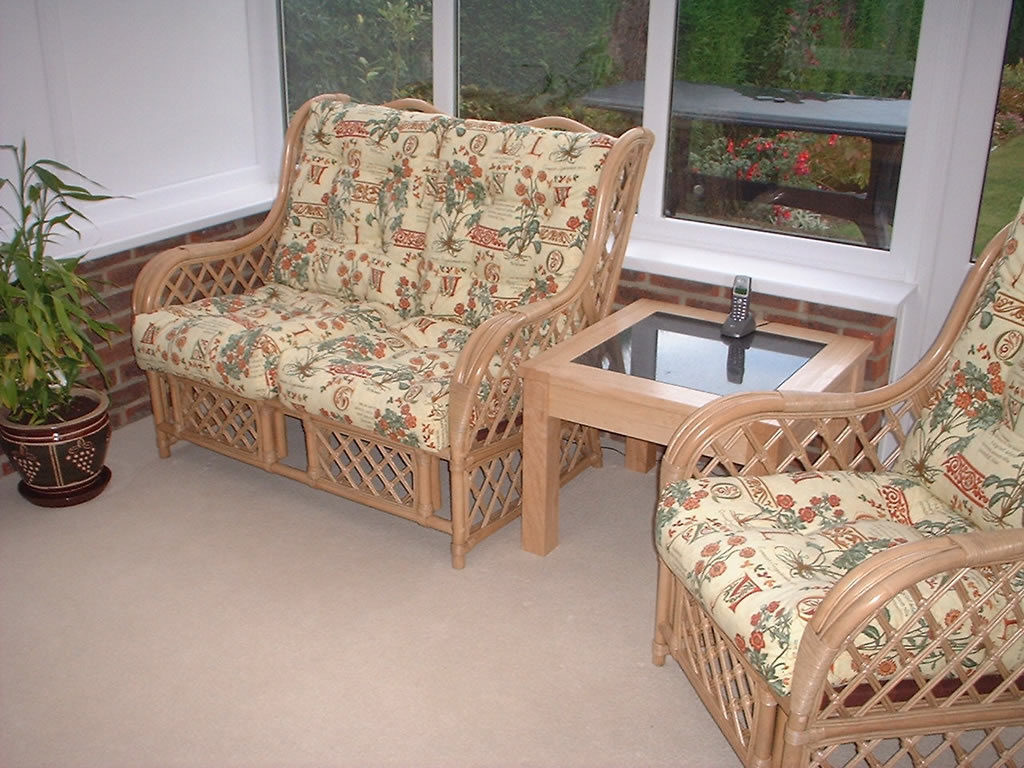
And
Finally..
Pictures
of the finished conservatory with furnishings. |
|
|
|
| Granite
sideboard |
Granite
entertainment unit |
Granite
table and 6 chairs |
|
|
|
|
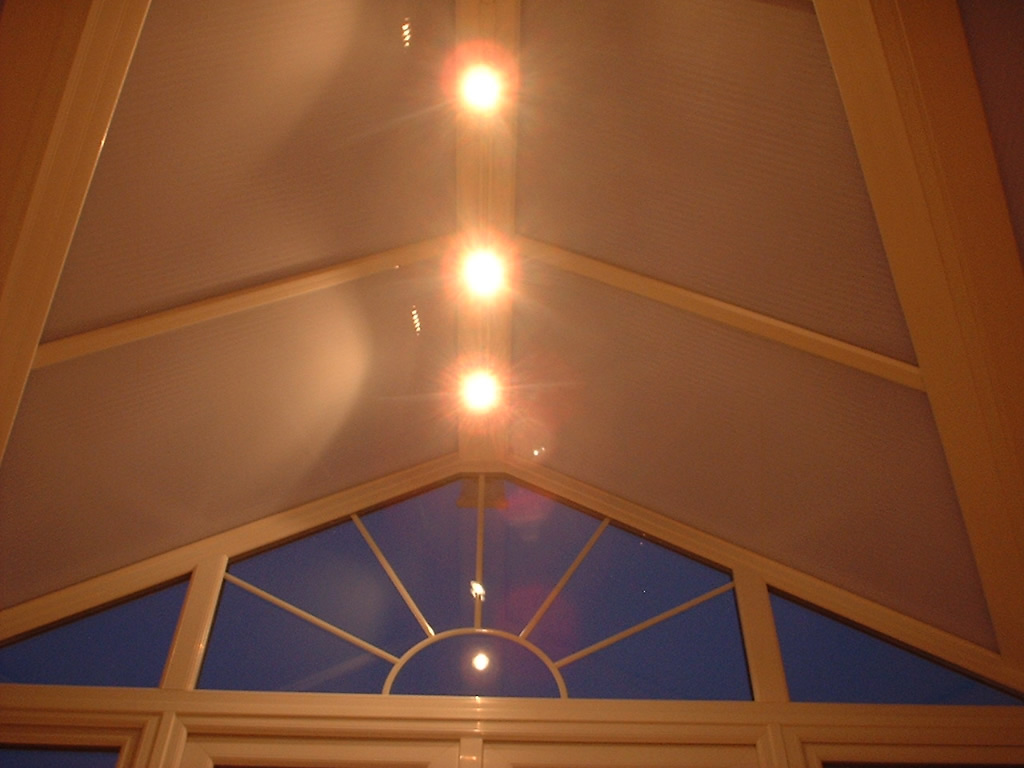
After
advice from a mate I decided to put in a lighting track with
6x50w downlighters, this gave a very warm cosy light. |
|